Lab 2: CSS Layout 1 Column
In this lab you will learn how to create a one column fixed and fluid layout using CSS.
Download the session2 templates files
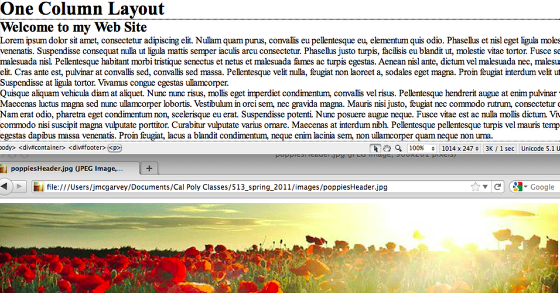
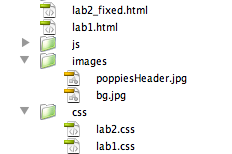
Download the one_column_template.html file and open it in Dreamweaver. Also download the poppiesHeader.jpg file and save it into your images folder nested inside your 513 root directory. If you want to use your own image make sure the width is 960 pixels and the height is 200 px.
XHTML Structure
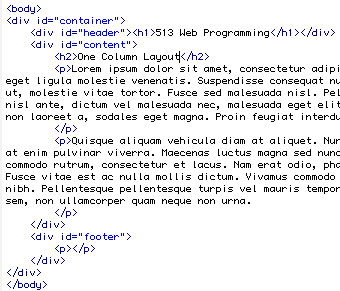
The web page is divided up into various sections by giving each section its own div with a unique id. A container div surrounds the whole website. There are also header, content and footer divs. Inside the header is a first level h1 header and inside the content is a h2 header.
Basic CSS Structure
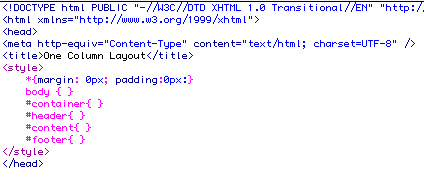
This template contains an embedded style sheet between style tags. When we have completed this lab we will export this as an external stylesheet.
The first style rule uses the * wildcard character and resets all the margins and paddings for all the tags on the page to 0px. This over rides the browser default styles that give certain padding to paragraphs and headings.
I have also created empty style rules for the body tag and container, header, content and footer IDs. You will be defining these styles in this tutorial.
Dreamweaver CSS Panel
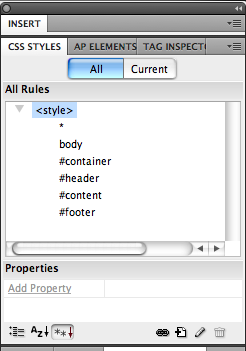
You can use Dreamweaver to define the CSS styles in your web page by using the CSS panel on the right side of the screen. By double clicking on the name of each style rule you can set its declaration.
We are going to set the pages default text color, text size and background color in the body tag style.
body {
background-color: #C3D795;
font-size: 1em;
color: #000;
}
You can do this by typing the code in code view or double clicking on the body tag name in the CSS panel and setting the values in the Type and Background categories of the CSS rule definition dialogue box.
Style your Container Div
The style container controls the overall width of the web site. If you want a fixed width layout, you set the width in pixels (ex: width: 960px) if you want a fluid width layout you would set the width in as a percentage of the browser window (ex: width: 70%).
Double click on the #container rule name in the CSS Panel, it opens the CSS rule definition dialogue box. Click on the background category and set the background to a white color (#FFF).
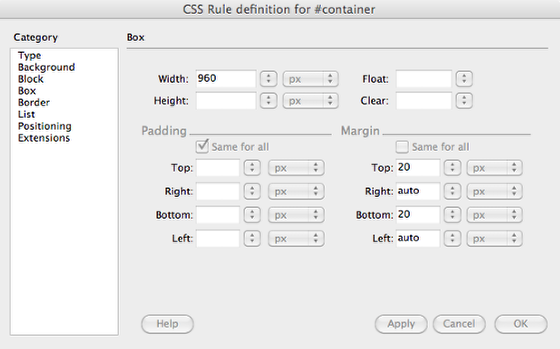
Click on the Box category and set the width to 960 px and Margin Top: 20px, Bottom: 20px, Right: auto, and Left: auto.
Then click on the Border category, set Style to Solid, Width to thin and Color to #484E35.
Click ok button.
Look at the code view of your website and review the #container style rule. It should look like this:
#container{
background-color: #FFF;
margin-top: 20px;
margin-right: auto;
margin-bottom: 20px;
margin-left: auto;
width: 960px;
border: thin solid #484E35;
}
Style the #header div
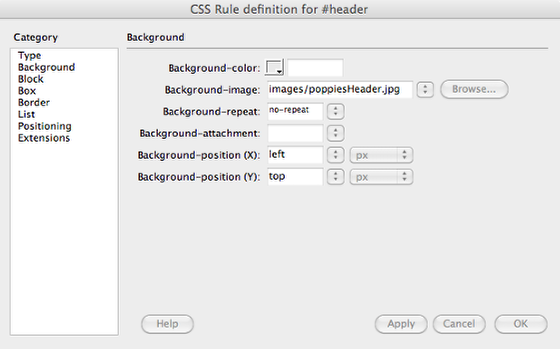
Double click on the #header rule name in the CSS Panel, it opens the CSS rule definition dialogue box. Click on the background category, then click on the Browse button. Select the poppiesHeader.jpg in the images subfolder. Set the Background-repeat to no-repeat, Background-position to left and Background-position to top.
You will also go to the Box Category and set the height to 200px and the right and left padding to 20px. Click OK.
Review your CSS code in code view.
#header{
background-image: url(images/poppiesHeader.jpg);
height: 200px;
background-repeat: repeat;
padding-right: 20px;
padding-left: 20px;
}
Style the padding on all your Content and Footer divs
Go to code view of your web page and style your content and footer divs. You will be setting the right and left paddings to 20px and adding a background and text color to your footer.
#content{
padding-right: 20px;
padding-left: 20px;
}
#footer{
padding-right: 20px;
padding-left: 20px;
background-color: #484E35;
color: #FFF;
}
Style your headings and paragraphs
Give your headings a red color and set the padding on your paragraphs. I also defined the font-size of your h1 and h2 headings using a relative em font size.
h1, h2 {
color: #E90000;
padding-top: 20px;
padding-bottom: 0px;
}
h1 {
font-size: 2em;
}
h2 {
font-size: 1.5em;
}
p {
padding-top: 5px;
padding-bottom: 20px;
}
Turn your Embedded Style Sheet into an External Style
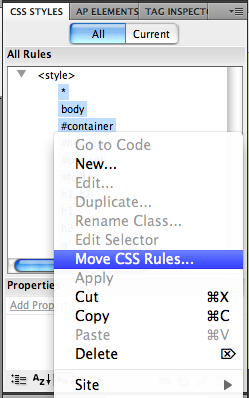
Hold down the shift key and select all the style rules in your CSS panel in Dreamweaver. Right Click on the selected styles and click on Move CSS Rules . . .
In the dialogue box that appears click on the A new style sheet . . . radio button. Click the OK button.
Name the style lab2.css and save the file in your CSS sub folder.
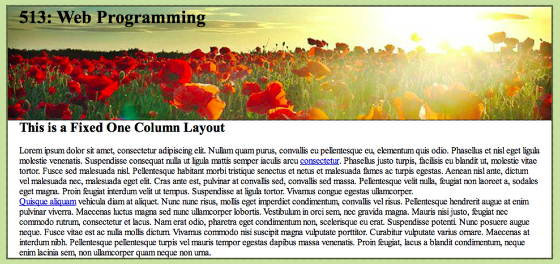
Save the file as lab2_fixed.html
Save the file as lab2_fixed.html in your root 513 folder
Create a Fluid One Column Layout

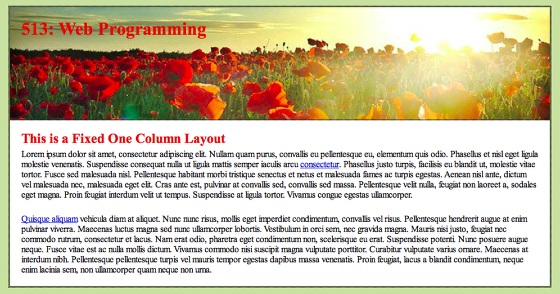
Under the file menu select Save As . . and name it lab2_fluid.html. Change the Title of the web page to One Column Fluid Layout.
Change the H2 heading to say This is a Fluid One Column Layout
Go to code view and look for the style tags. Notice that there are no rules between the style tags. The external stylesheet is attached through the link tag.
The C in CSS stands for cascading. This means that certain styles over ride and cascade into each other. For example, an embedded style will take precedence and over ride an external style. An inline style will override an embedded style. We are going to add an embedded style rule that will over ride the set width of the container in the external style sheet.
Between the style tags add a style rule for the div containter (#container ). Set the width of the container div to 70%.
On some browsers you need to make sure the style tags are after your link to your external style sheet. Copy and past the style tags after the link tag so it looks like the image above.
Preview the lab2_fluid.html page in your browswer. As you change the width of your browser window, the width of the container div should also change.
Upload these files to your webserver and copy and paste the URL to this weeks assignment so I can grade them.
Take a break, you have done a great job!
When you are ready, you can continue on with Lab 2: Javascript Variables.