Lab 7: JavaScript Arrays
In this lesson, you will learn how to create an array in JavaScript.
What is an Array? (reference only)
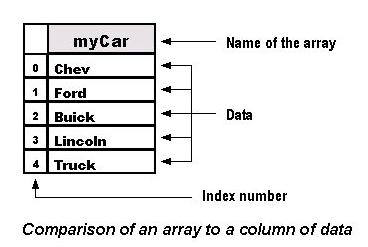
An important feature found in most programming and scripting languages is the use of an array. An array provides an indexed ordered list that a program uses to manipulate or display information. In simple terms, an array is "an ordered collection of data". The data in an array can be a number, a text string, a Boolean value or another array.
Arrays automatically assign a number to each entry in the array. These numbers like most numerical data in JavaScript start off with 0 and count up. The first item in the list will be referred to as 0 and the second item 1 and so on. These numbers are referred to as an Arrays index. In the example above, the first indexed item in the myCar array is chev.
Arrays are referenced by their variable name, like a function. By calling on the array and the index number, only that piece of data or literal string is returned. The format is variableName[#] with variableName being the name of the array and # being the index number of the listed entry. In the example above, myCar[0] would return the data Chev, while myCar[3] would return Lincoln.
Arrays and the document object model (Reference Only)
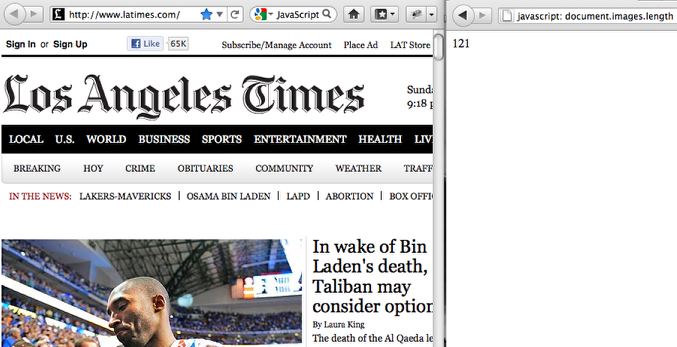
Javascript creates several different arrays when a web page loads. For example, all the images in a web page are placed into an image array in the order they appear in the html code starting with the number 0. This image is referred to in the array as image[0].
You can find out how many images you have on a page by using the length attribute. The DOM format would be document.images.length. If you are using Firefox, visit the web page and then past the following into the url address field and hit enter:
javascript: document.images.length
In the example above, I visited the latimes website and pasted "javascript: document.images.length" in the URL field and it return the number 121. At that time the page contained 121 images.
Array Syntax (reference only)
There are two different ways to declare an array in Javascript. One is shorter and easier to type while the second is longer but easier to read and understand.
First format (dense array) :
var variableName = new Array("literal0","literal1", "literal2", "literal3")
Example:
var dayName = new Array("Sunday","Monday", Tuesday", "Wednesday", "Thursday", "Friday")
Second format:
var variableName = new Array(5)
variableName[0] = "literal0"
variableName[1] = "literal1"
variableName[2] = "literal2"
variableName[3] = "literal3"
variableName[4] = "literal4"
Example:
var dayName = new Array(7)
dayName[0] = "Sunday"
dayName[1] = "Monday"
dayName[2] = "Tuesday"
dayName[3] = "Wednesday"
dayName[4] = "Thursday"
dayName[5] = "Friday"
dayName[6] = "Saturday"
Javascript Array Lab 7
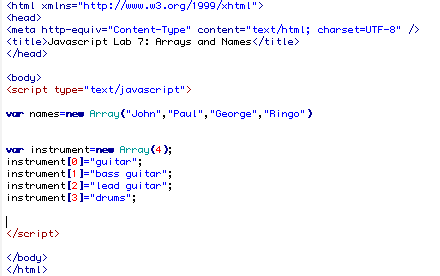
Create a new file called lab7_js_names.html. In between the body tags of the web page add some script tags. In this web page you are going to create two arrays, one will store the names of the Beatles and the second will store what instrument they played. I have included the two different ways that you can declare an array in this example.
<script type="text/javascript">
var names=new Array("John","Paul","George","Ringo")
var instrument=new Array(4);
instrument[0]="guitar";
instrument[1]="bass guitar";
instrument[2]="lead guitar";
instrument[3]="drums";
</script>
Print the results of your array to your page
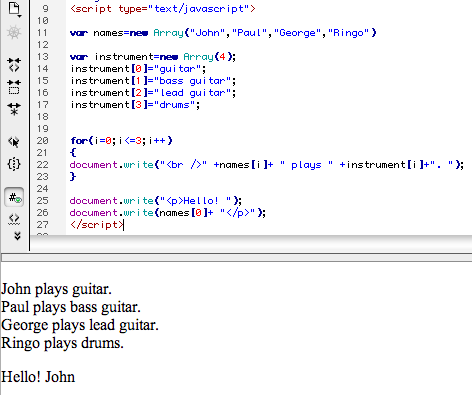
After you have declared your variables you can print them to your page. In this example, a for loop was created to loop through the array four times.
Code:
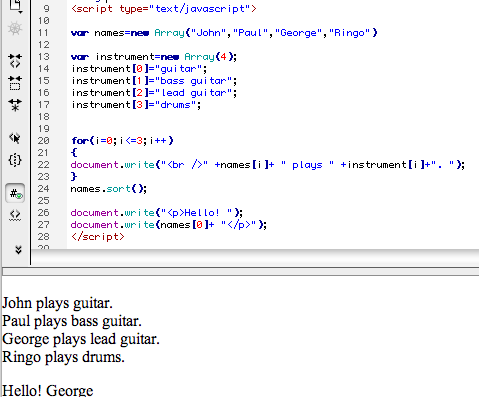
for(i=0;i<=3;i++)
{
document.write("<br />" +names[i]+ " plays " +instrument[i]+". ");
}
document.write("<p>Hello! ");
document.write(names[0]+ "</p>");
Array Object with the sort method
There are several methods that can be used to manipulate array objects. In this example, we are going to sort the elements of the array in alphabetical order using the sort() method. Add the following line of code after the for loop and before the document.write statements.
names.sort();
After the loop, the original names array is sorted alphabetically, resulting in George replacing John as the first indexed item.
Add to an Array using the push method

You can add to an array using the push method. This method will add an element to the end of an array and return the array's length. In this example, I added the Beatles first drummer to the names and instrument arrays by using the push method after I declared the arrays and before the document.write statements.
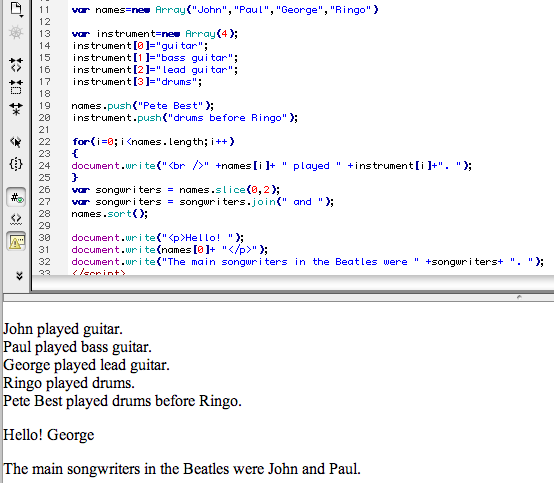
names.push("Pete Best");
instrument.push("drums before Ringo");
Notice in order to print the new items in the array the for loop has to be increased by one. It would be easy to forget to increase the increment number on the loop when dynamically adding to arrays. A way to solve this problem is to use the .length property of the array object. This will return the length of the array. In the above example, I added names.length to the for loop to set the condition for how many times to loop through the array.
for(i=0;i<names.length;i++)
{
document.write("<br />" +names[i]+ " played " +instrument[i]+". ");
}
Learning Arrays the Slice and Join Methods
The slice() method selects a part of an array, and returns the new array. The original array will not be changed. The syntax is array.slice(start, end) with start and end being the index numbers. If end is omitted, slice() selects all elements from the start position to the end of the array. In the example above, John and Paul are sliced from the unsorted names array and stored in the variable songwriters using the following code:
var songwriters = names.slice(0,2);
The join() method joins all elements of an array into a string, and returns the string.The elements will be separated by a specified separator. The default separator is comma (,). In the example above, the text string " and " is used as the separator and stored in the songwriters variable.
var songwriters = songwriters.join(" and ");
The two songwriters are then printed to the screen using a document.write statement.
document.write("The main songwriters in the Beatles were " +songwriters+ ". ");
Save the file, upload it to your server, and link to this weeks journal.
Arrays Lab 2: Adding Randomness to your page
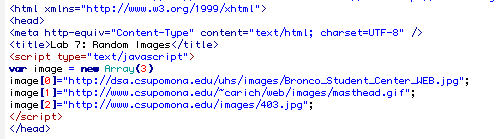
In this example, we are going to create a web page that will display a random image on the page. The first step is to store the paths to the images in an array. In this example, I added the script in the head section of the page and created a new array named image.
<script type="text/javascript">
var image = new Array(3)
image[0]="http://dsa.csupomona.edu/uhs/images/Bronco_Student_Center_WEB.jpg";
image[1]="http://www.csupomona.edu/~carich/web/images/masthead.gif";
image[2]="http://www.csupomona.edu/images/403.jpg";
</script>
Random number and the math object
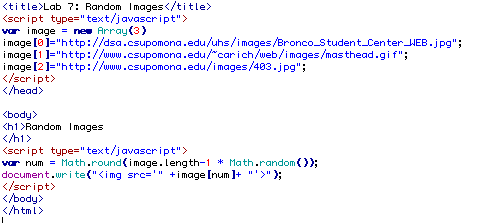
By using the random method to the Math object you can return a random number between 0 and 1. The .round method of the Math object to round a number to the nearest integer. By rounding that number with the .round method and multiplying it by a set number you can produce a random number between 0 and that number. In this example, you want the range to include all the items in the array (0-2). This is achieved by multiplying the number by 2. For example: Math.round(2*Math.random()).
I replaced 2 with image.length-1 so the random number script will work even if I add items to my array.
<script type="text/javascript">
var num = Math.round(2 * Math.random());
document.write("<img src='" +image[num]+ "'>");
</script>
In this script, Math.random() produces a number between 1 and 0. This number is multiplied by the length of the image array -1. This number is then rounded to the nearest integer and stored in the variable num.
The document.write statement prints an image tag to the screen using the image array to select the random image for the source property.
Preview your Results

Preview your results and you should see an image. Now refresh your page and you should see a new random image. Save the file, upload to the server, and link to this weeks journal.