Session 8: Introduction to Dreamweaver Spry Effects
Spry is Adobe Dreamweaver built in JavaScript library. This tutorial will teach you how to add a Tab panel to your JavaScript Portfolio page.
Step 1: Open your Scripts Portfolio Page in Dreamweaver
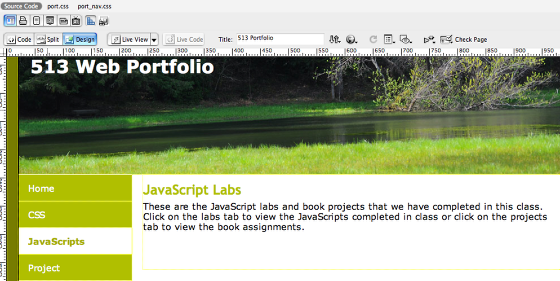
The first step is to open your scripts.html portfolio page in Dreamweaver. You are going to add a Spry Tabbed Panel within the content div of your page.
Spry is Adobe's built in Javascript library. Whenever you add a spry effect to a web page. Dreaweaver will create a SpryAssests folder in the root of your web site and save two linked two external files to your page. Don't forgot that this folder must be uploaded to your server in order for your spry tabbed panel to work on your server.
Step 2: Add the Spry Tabbed Panel
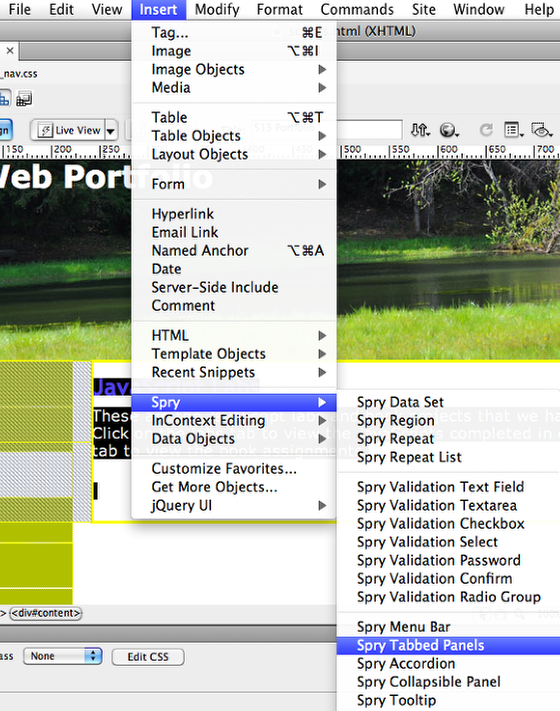
Click inside the content div after your introductory paragraph. Go under the insert menu select Spry and then Spry Tabbed Panels. Next, go under the File menu and select Save. Dreamweaver will ask you if you want to Copy Dependent Files and remind you to upload these files when you FTP your site to your server. View your web directory and you will now see the SpryAssests folder. Inside this folder will be the files SpryTabbedPanels.js and SpryTabbedPanel.css. Make sure you upload these files to your server.
Note: Make sure the tabs are nested within your content div. You might have to look at the code view to verify it.
Step 3: Name Your Tabs
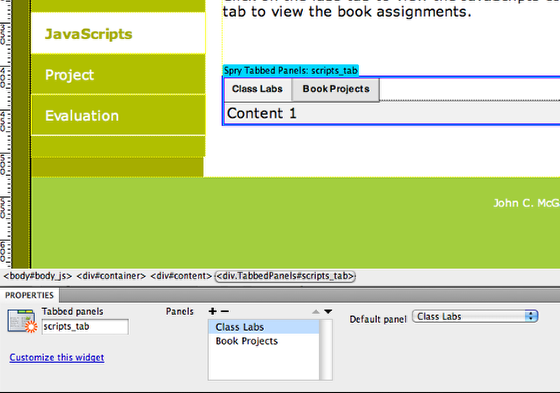
By default, this Spry Tabbed Panel effect creates two panels named Tab 1 and Tab 2. Select the text, Tab 1, and rename it "Class Labs". Click on Tab 2 and rename it "Book Projects". Click on either one of the tabs to select it, (you might have to click on the border). Look down at the property bar and name the Tabbed panels, scripts_tab. You can now click on either of your Tab names in the property bar in the Panels section to move between your tabs.
Step 4: Customize the Tabbed CSS

Look in the CSS Panel in Dreamweaver and notice that there is a new external stylesheet. There is no right or wrong way to do this. Experiment with changing the background and text colors of the various class rules to fit your design.
.TabbedPanelTab - Change the background color to the color of the sidebar. (#B0B0F)
.TabbedPanelHover - Change the background color to the color of the .TabbedPanelsContentGroupbody (#777C00) and the text color to white.
.TabbedPanelsTabSelected - Change the background color to the color of the footer (#A3CE3E).
.TabbedPanelsContentGroup - Change the background color to the color of the footer (#A3CE3E).
If you don't want to have blue links in your tab, you will have to create custom psuedo element rule:
.TabbedPanelsContent.TabbedPanelsContentVisible p a {
color: #FFF;
}
Step 5: Add your Content
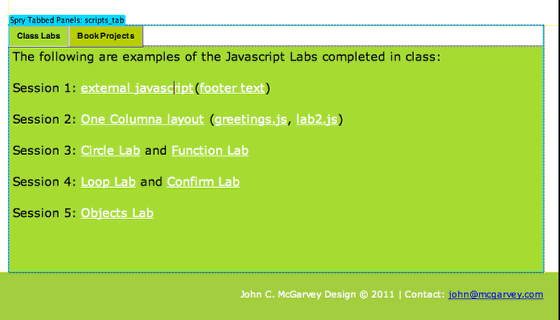
Start linking your Javascript Labs in the Class Labs tab and the JavaScript book projects in the Book Projects tab. Save and upload your scripts.html page and link to this weeks lab.